
")

How to Format Images for Instagram
Raise your hand if your images on Instagram often look like shit. Yeah, mine too, and as anyone trying to run a business on Instagram and look professional, this is not ideal. In order to have my work looking its best, I have refined my methods on how to format images for Instagram in a way that’s quick and effective.
If you’d rather watch a video on the matter, my ‘How to Format Your Photos for Instagram’ video will walk you through all the steps below.
Step #1: Choose Your Aspect Ratio
In terms of cropping, there are actually three aspect ratios that are accepted by Instagram: 4:5 (portrait), 1:1 (square) and 1:91:1 (landscape).
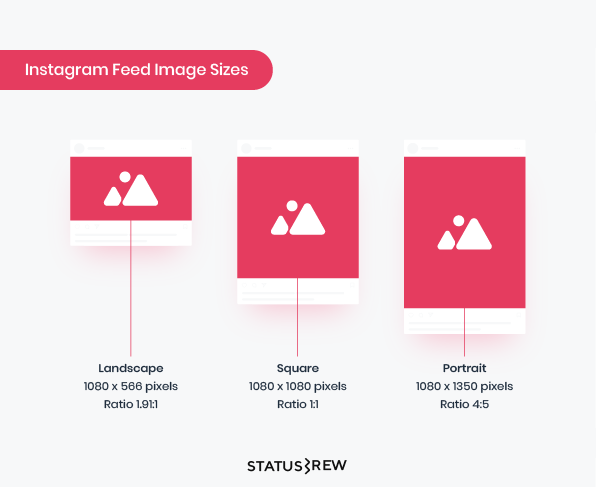
Cropping your photos to one of these aspect ratios will ensure you don’t have to use the dreaded crop tool when posting and you’ll be eligible for auto-post (if you’re using a planning app).
Many editing apps have these sizes built into their cropping tools so you don’t have to figure them out yourselves. I use the Lightroom Photo Editor.
Step #2: Configure Your Dimensions
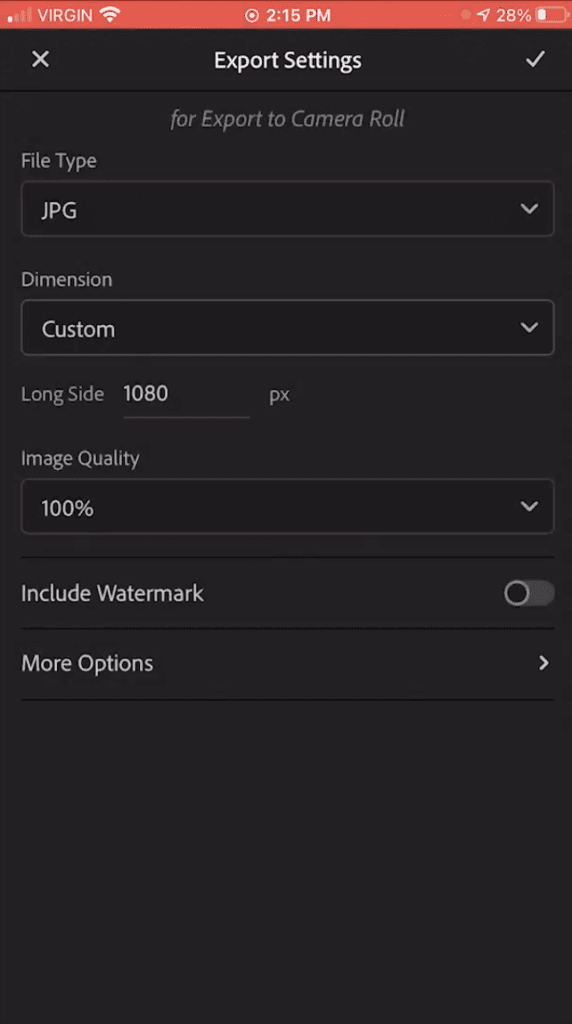
The reason your photos look terrible is because Instagram compresses large images, which results in them looking blurry. To ensure the best quality image, cropping to the right aspect ratio and dimensions are necessary.
The rule of thumb is to make the long edge of your photo a maximum of 1080 px. In the Lightroom App, when you’re ready to export, you can select the toggle bars to the right hand side and set a custom dimensions of 1080 px for the long side.
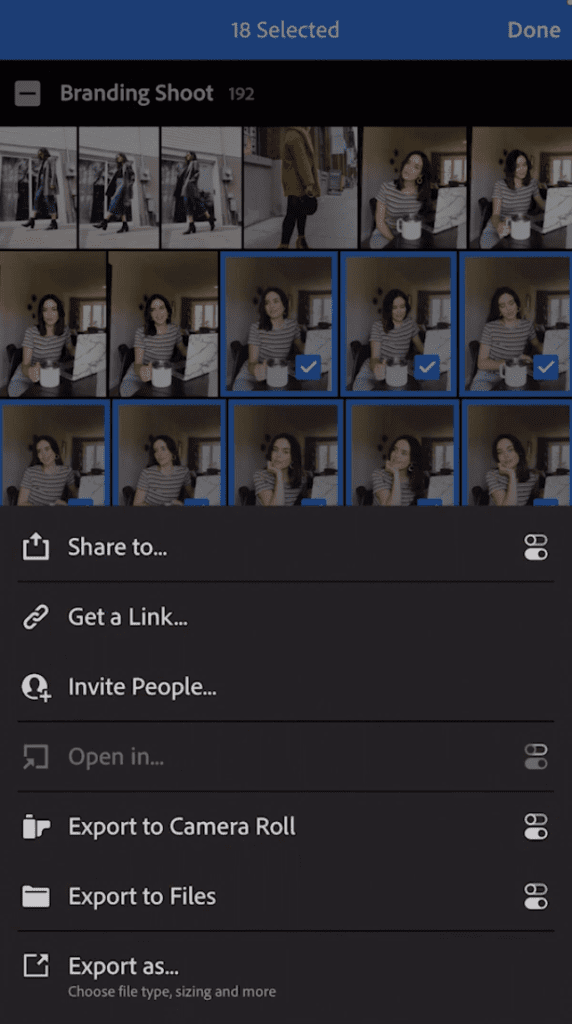
You crop multiple photos at once and export them to the right dimensions to save time, which I show you in this tutorial.
Step #3: Sharpen Your Images
If you want your photos to really pop then there are a couple other tweaks you can make at the end of your editing session.
Try increasing the clarity and sharpening, which you can find in any app’s editing adjustments panel. This will sharpen edges and enhance texture, but be careful not to overdo it. I like my clarity at a +10 and sharpening at +25.
Follow these steps to format your images for Instagram and don’t get discouraged if it takes you a while the first time. Once you’ve got this process done, it will save you tons of time to edit, crop, and export all your branding photos at once.
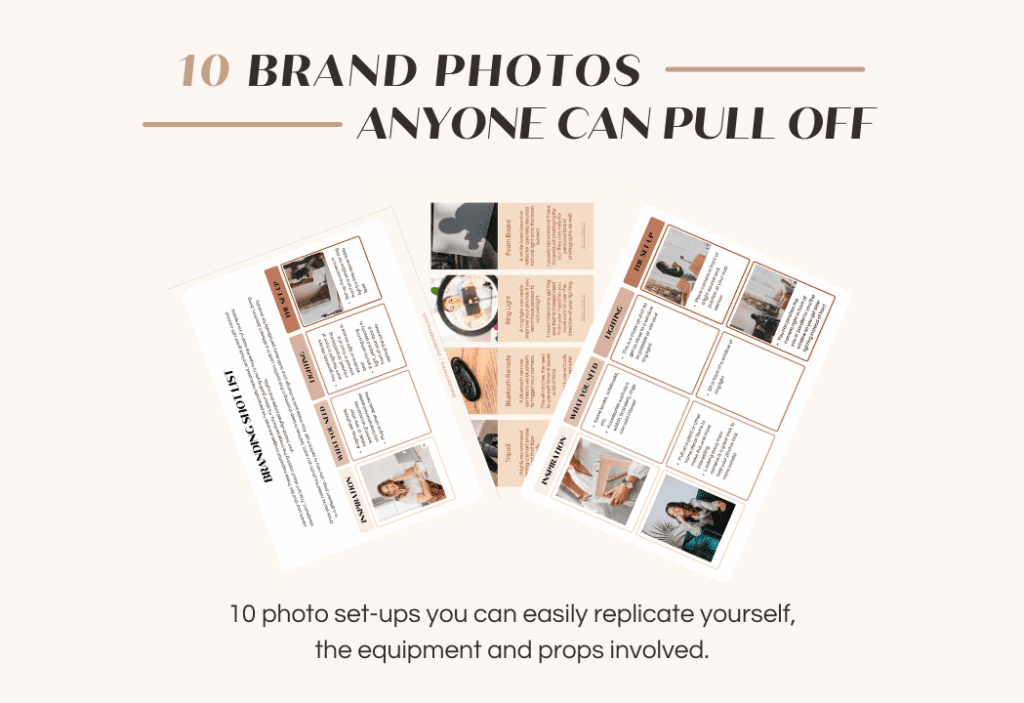
Now all you might be missing is some good quality branding photos! If you’re looking to throw a DIY shoot together, I’ve got a Brand Photo Guide that will show you how to elevate your selfies into impactful brand photos with 10 easy set-ups you can replicate yourself. Lighting, equipment, props, and positioning — this guide covers it all!
Here’s to better-looking photos on Instagram!
HOW TO TURN YOUR SELFIES
INTO BRAND PHOTOS
FREE GUIDE
Want to DIY your brand photos? Here are 10 photos you can easily replicate at home with a smartphone and a tripod!
uplevel your selfies
