The Best Equipment for Taking Photos of Yourself

I get it. Sometimes you’re not in the position to hire a brand photographer or maybe you want to fill the gaps of your professional photos with some quality selfies. Either way, taking photos on your Iphone is a totally valid way to get some content for social media (given it’s done the right way). In this blog, we’re going to look at the best equipment for taking photos of yourself so you can put your best self forward.
Equipment Recommendation #1: A Tripod
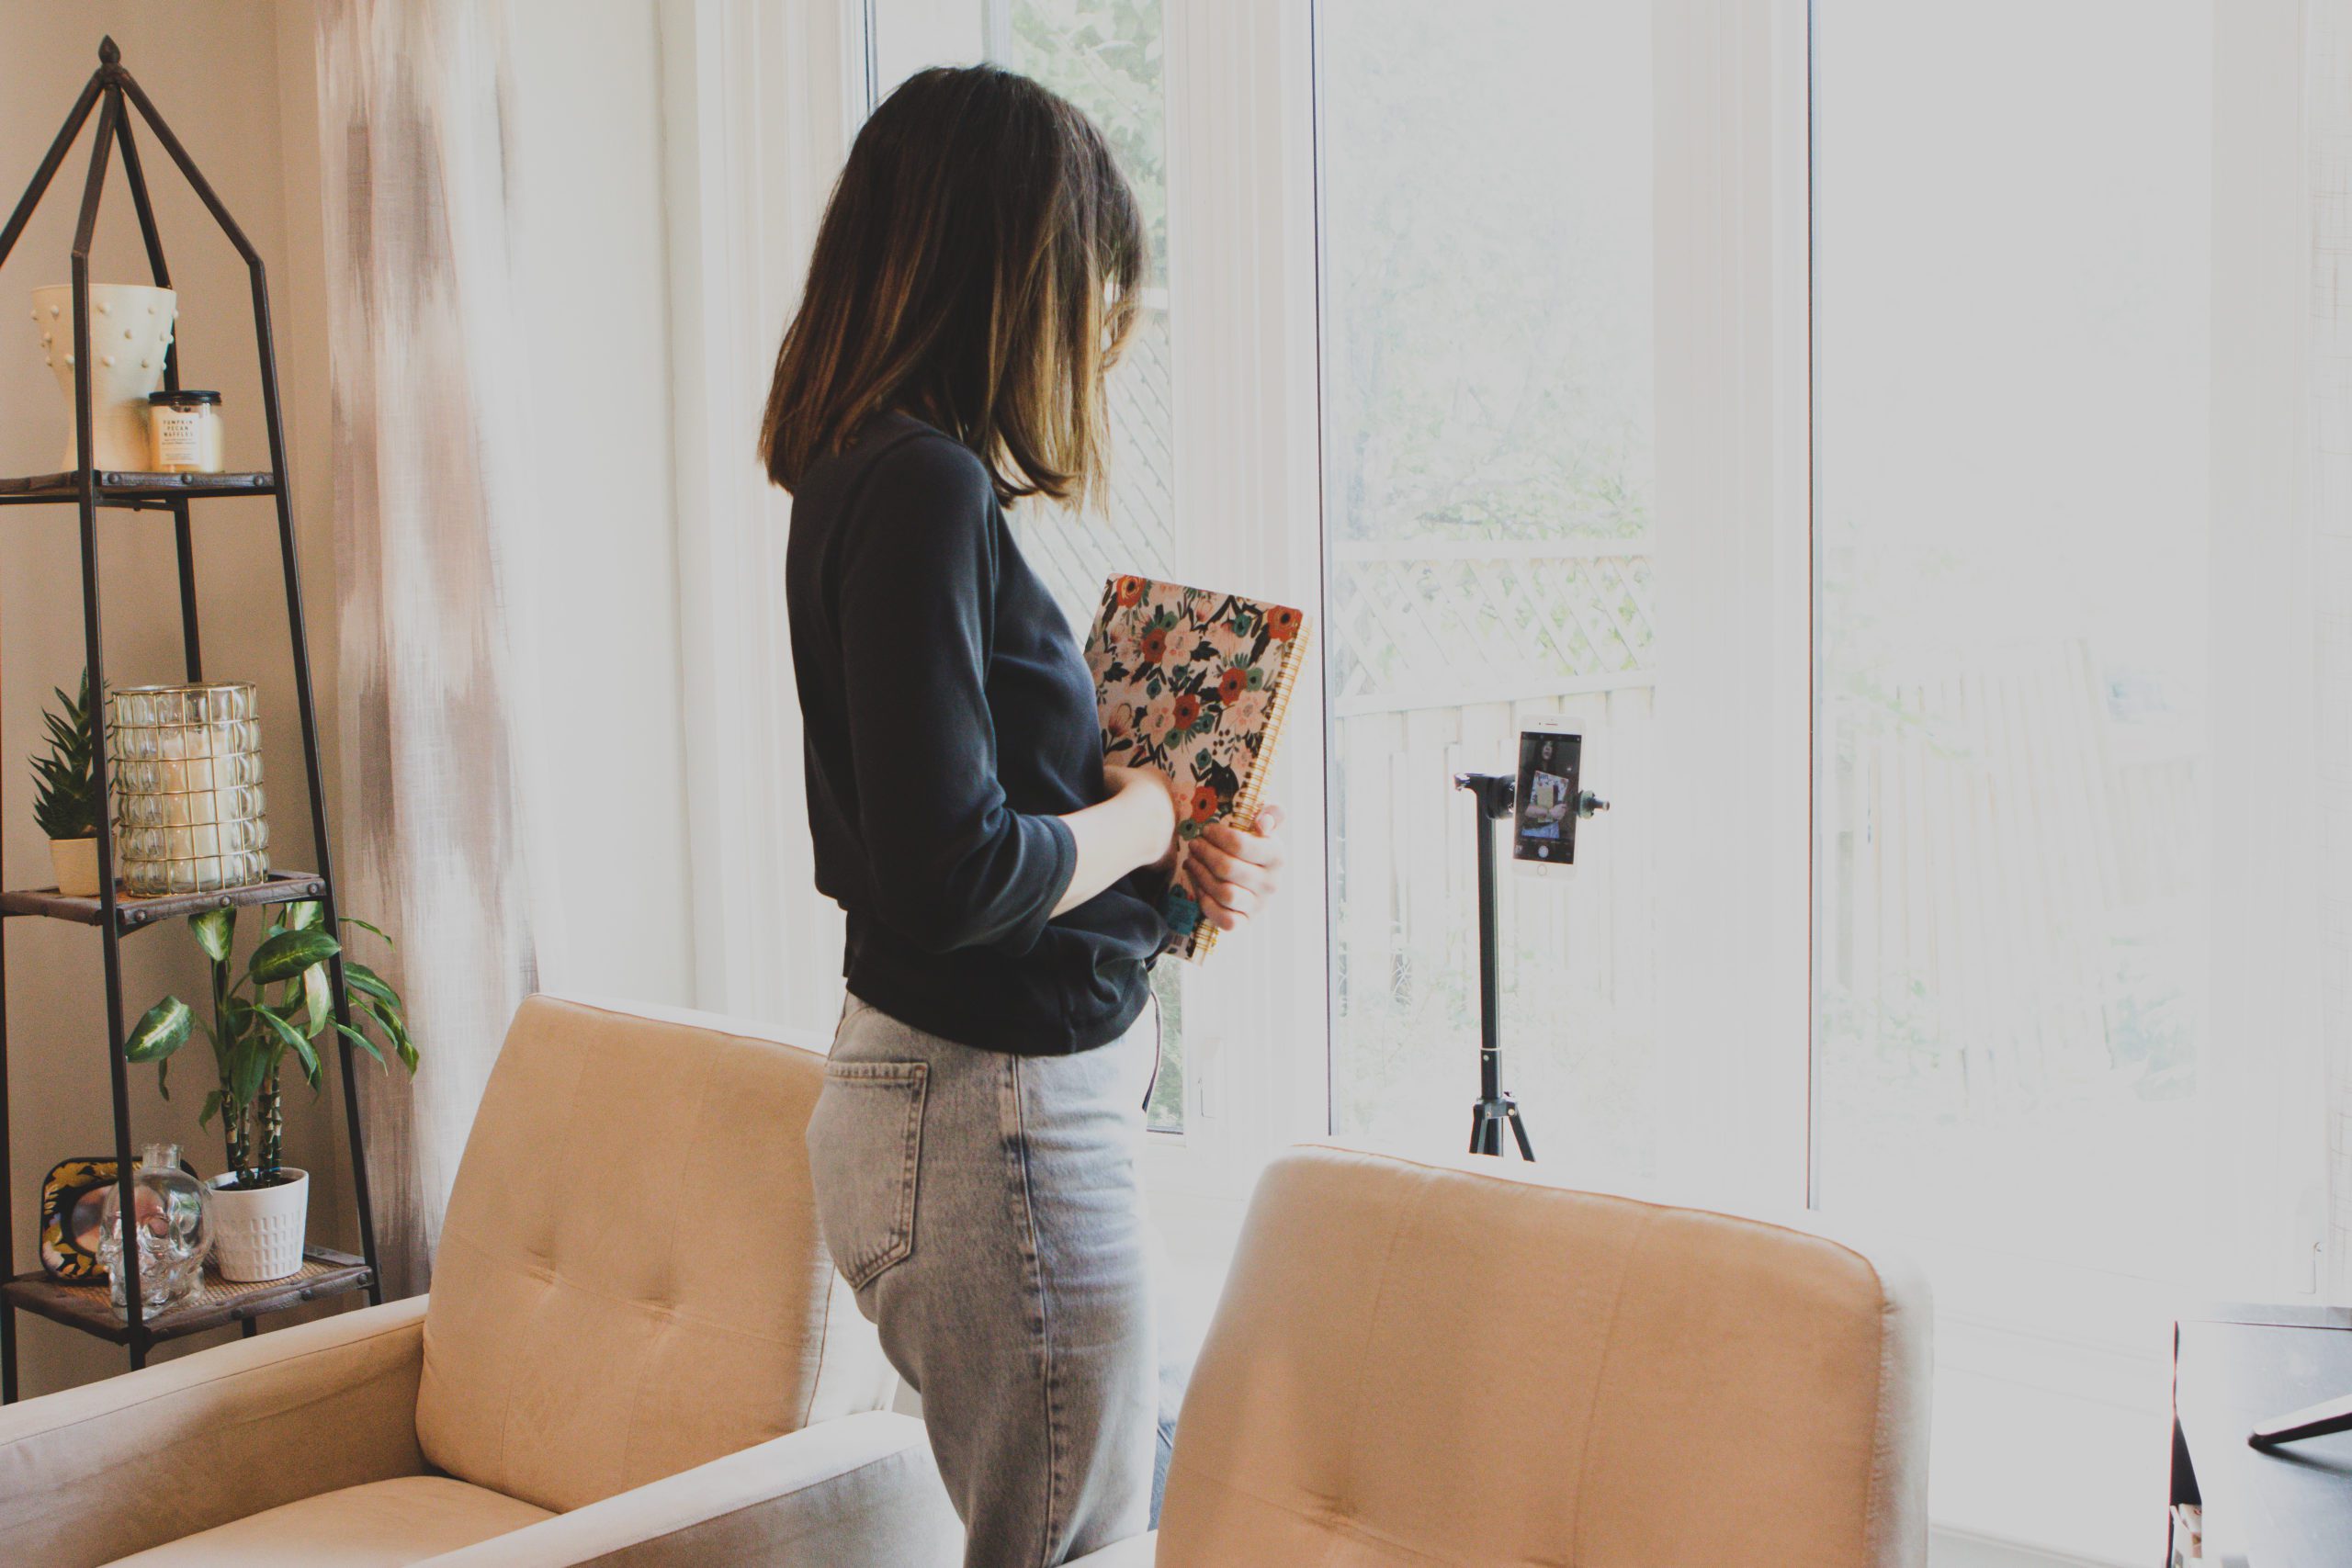
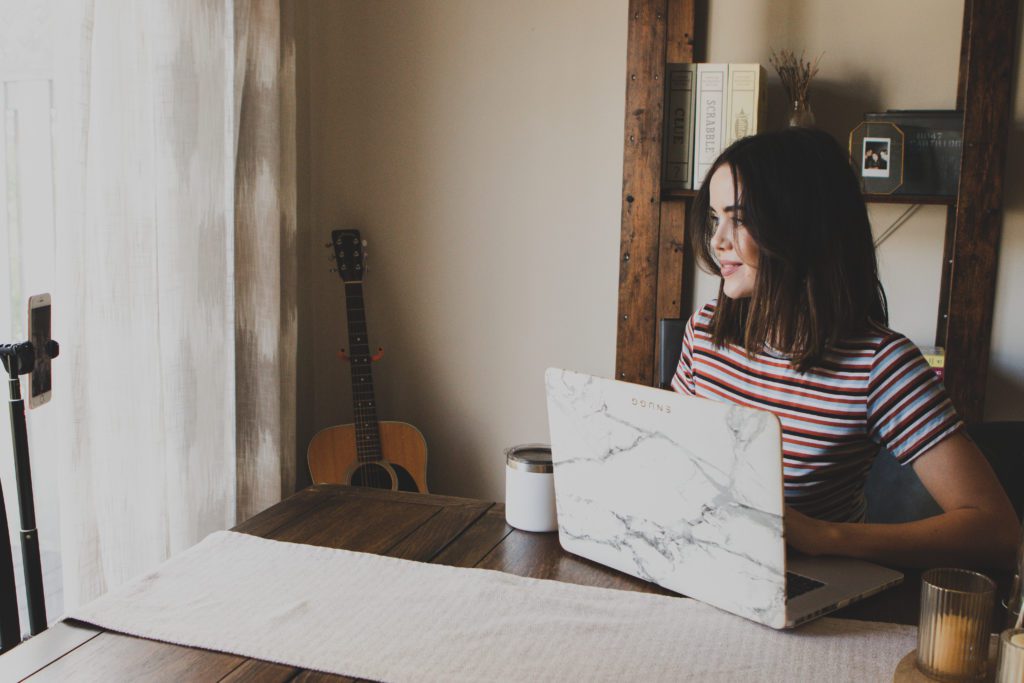
The easiest way to elevate your selfies to do more for your brand is to invest in a tripod. Photos look instantly more professional when you create the ‘illusion’ that someone else is taking the photo for you.
I’ve tried a number of different tripods and have only recently found one that checks all the boxes.

This Eocean Selfie Stick Tripod functions as a handheld, table top and extremely long tripod — extendable up to 71 inches. It also has a 360° rotatable phone holder to shoot from virtually any angle and it flips horizontally and vertically. It has an adjustable mount that fits a smartphone as small as an iPhone 6S and large as an iPhone 13 Pro Max.
It sounds like this thing would be a beast, right? The best part is that it’s incredibly lightweight and portable. I bring it to all my shoots to film behind-the-scenes footage, and it’s great for filming reels at standing or sitting height.
To top it all off, it even comes with a wireless remote shutter that connects via bluetooth. This is something you usually have to buy separately! I have client asking me all the time how this can buy this tripod because it really can do it all.
Equipment Recommendation #2: A Bluetooth Remote
The tripod I mentioned above comes with a bluetooth remote, but if you already have a tripod you’d rather use then getting a wireless remote would be my next recommendation.
Straight up, self-timer sucks. You either wait 3 seconds, which is too short, or 10 seconds, which is too long, and then the shutter fires at a ridiculous rate, leaving you very little time to switch up your pose. A bluetooth remote is a way to get some control back.
I use the Bluetooth Remote Control by CamKix. It’s uncomplicated, reliable, and it’s operational up to 30 feet. You can shoot on the regular mode or pair it with the 3 second self-timer so you have time to hide it discreetly for your photo.
These things are so inexpensive and make such a difference in the quality of your photos.
Equipment Recommendation #3: A Ring Light
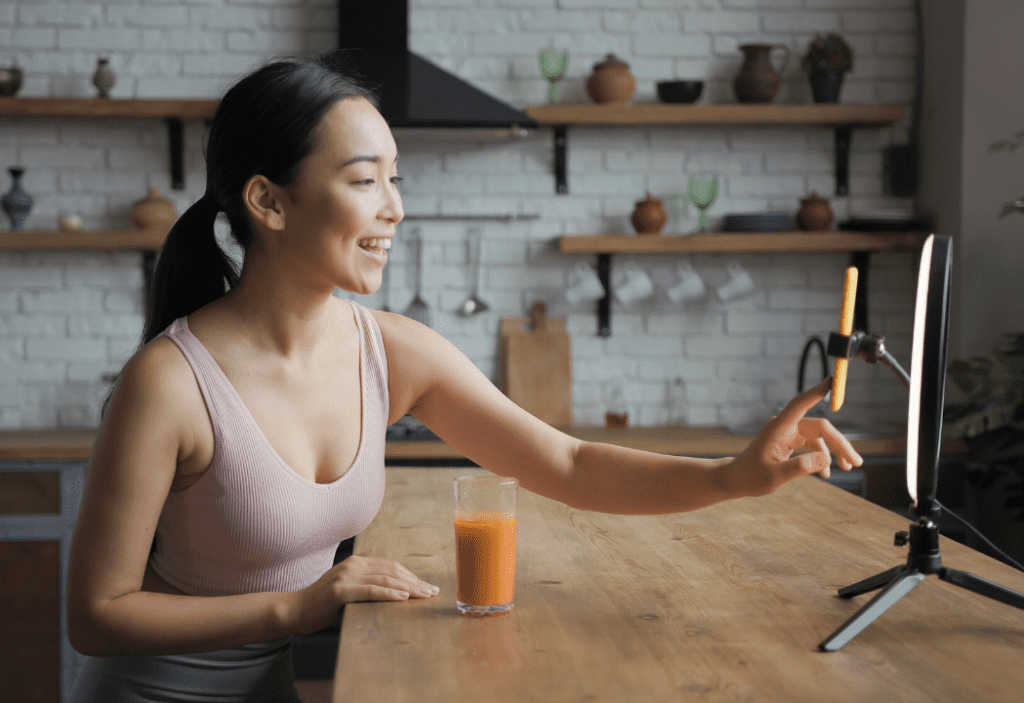
A ring light can really improve your photos if you don’t have access to natural light or it’s limited. I recommend getting one that is independent from your tripod so you have control over the direction of your lighting.

I like the Kimwood Clip on Ring Light. This ring light was a no-brainer for me because it is actually lightweight and portable. Most ring lights I’ve seen can only operate when connected to a power source, which limits where you can bring them.
It clips right onto your phone, which makes it great for photos and videos on and off the tripod. And it gets really bright! I also like that it has different colour temperatures because you never know what kind of lighting situation you are going to run into.
Equipment Recommendation #4: A White Foam Board or Reflector
If working with natural light is more your style, I recommend purchasing a cheap white foam board or reflector to diffuse harsh sunlight and direct the light where you want it to go.
Literally the foam boards you used to present your eighth grade science project will work. You just position one opposite to your main light and angled towards the main subject (mostly likely, you). The idea is to reflect the light onto yourself.
These are an absolute must when shooting your own product photography with natural light, but they work for personal brand photos as well.
If you want to kick things up a notch, you can even get photography reflector. This one by Wellmaking Studio is great because it comes with a stand and 5 surfaces. Take it from me, it can be very tricky to try and hold your own reflector and take photos at the same time.
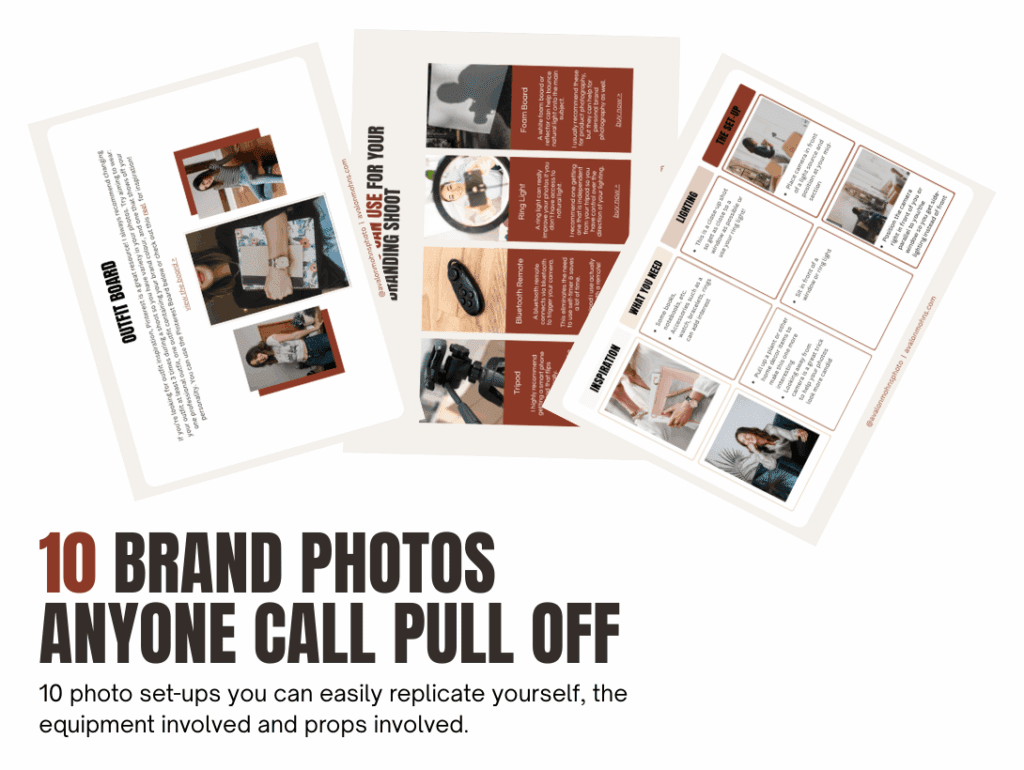
Now that you’ve got the equipment down, how do you actually position all this stuff during your shoot? My free ‘10 Brand Photos Anyone Can Pull Off’ Guide will show you exactly that.

In this guide, we’ll walk through 10 brand photo set-ups that show you exactly how to position yourself, your equipment and how to light the scene. This is the ultimate guide to elevating your selfies into impactful brand photos that attract your ideal audience.
The best equipment for taking photos of yourself doesn’t need to be complicated or expensive. I take photos of myself on both my DSLR and my iPhone, but if I’m looking to bang out a lot of content in one day, I reach for my iPhone without a question.
HOW TO TURN YOUR SELFIES
INTO BRAND PHOTOS
FREE GUIDE
Want to DIY your brand photos? Here are 10 photos you can easily replicate at home with a smartphone and a tripod!
uplevel your selfies